
Now you will be presented with MySQL Destination form. Here you have to enter MySQL database connection information such as
to connect to target MySQL database.
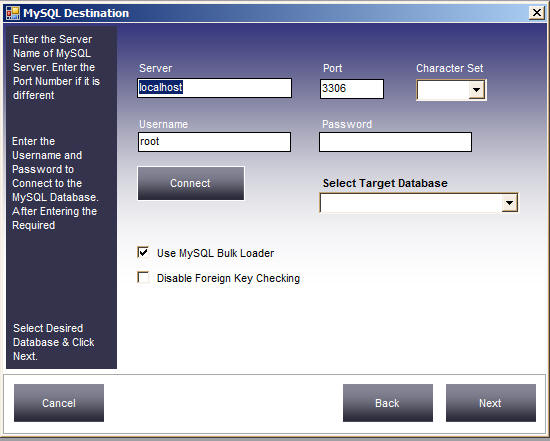
Since in our machine MySQL is running in the local machine we will choose the default "localhost" as server hostname and the default port. After entering the required information click "Connect" button. You will get a " Connected Successfully" message as shown in the screenshot below
If you are having trouble in connecting to MySQL database. Then please go through the Common Problems in Connecting to MySQL database to resolve the issue. If still you are having issues then feel free to Contact Us and we will delighted to assist you.
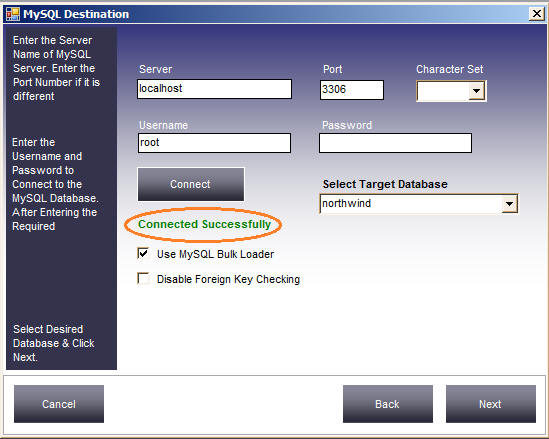
Now we need to Select the Target Database from drop down list. Since we have already created the target database "NorthWind" in initial stage we will choose the same.
Data Loader also gives you the option to load the data using Bulk Loading method in MySQL which loads millions of rows in just few minutes. You can check the "Use MySQL Bulk Loader" option to enable Bulk Loading in MySQL.
It will also lets you Disable Foreign Key checking. This is useful to avoid "Parent Value doesn't exist" errors. This usually happens when Child table rows gets populated first before Parent table rows are loaded.
You can check the "Disable Foreign Key Checking" checkbox if you want to
disable Foreign key checking.
When you check this checkbox then Data Loader will just turn OFF Foreign key
checking just before loading starts and turns ON Foreign key checking after
loading
is finished.
Click Next button to continue.